The following shows you how I got an ODBC connection to DB2 on a Windows Server 2008R2. After doing a search on the Internet I found this page that really helped me a lot. They do it a bit different.
NEW
If you also want to install the IBM Control Center you might want to look at this page. This also installs the ODBC out-of-the-box.
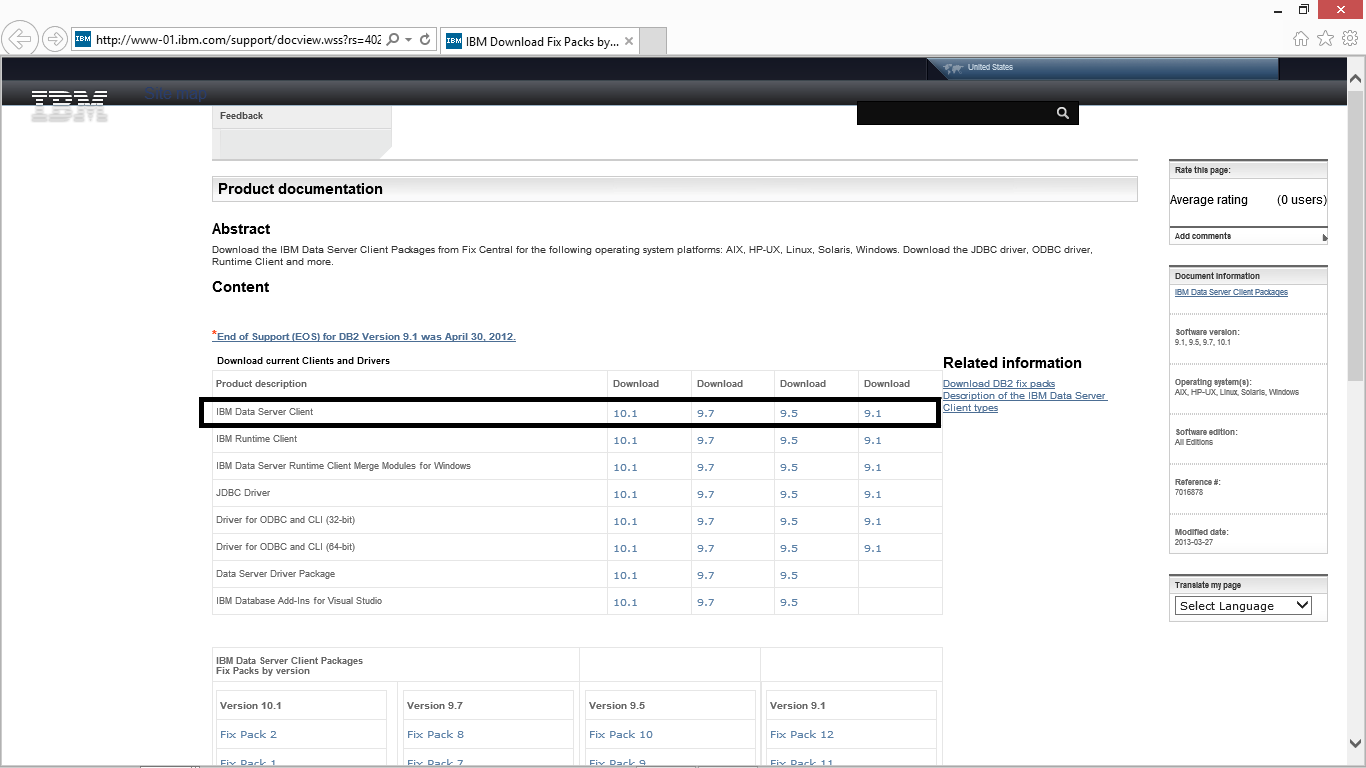
If your need a 32 or 64-bit version for Windows and DB2 version 9.7. You should look for something like this.
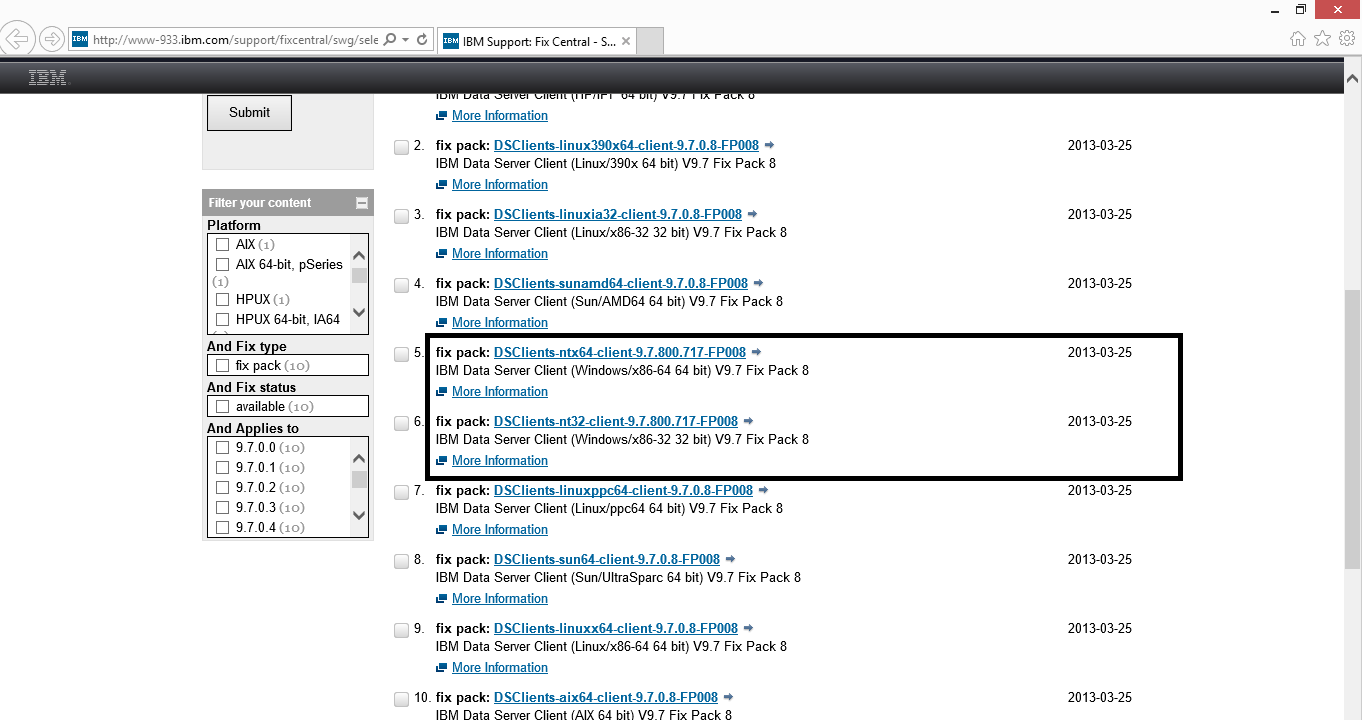
On this page you can find and download the ODBC-drivers that fits your system. I you don’t know what version of DB2 that you’re running, you can contact your DBA. The DB2-version can be found using the command DB2level.
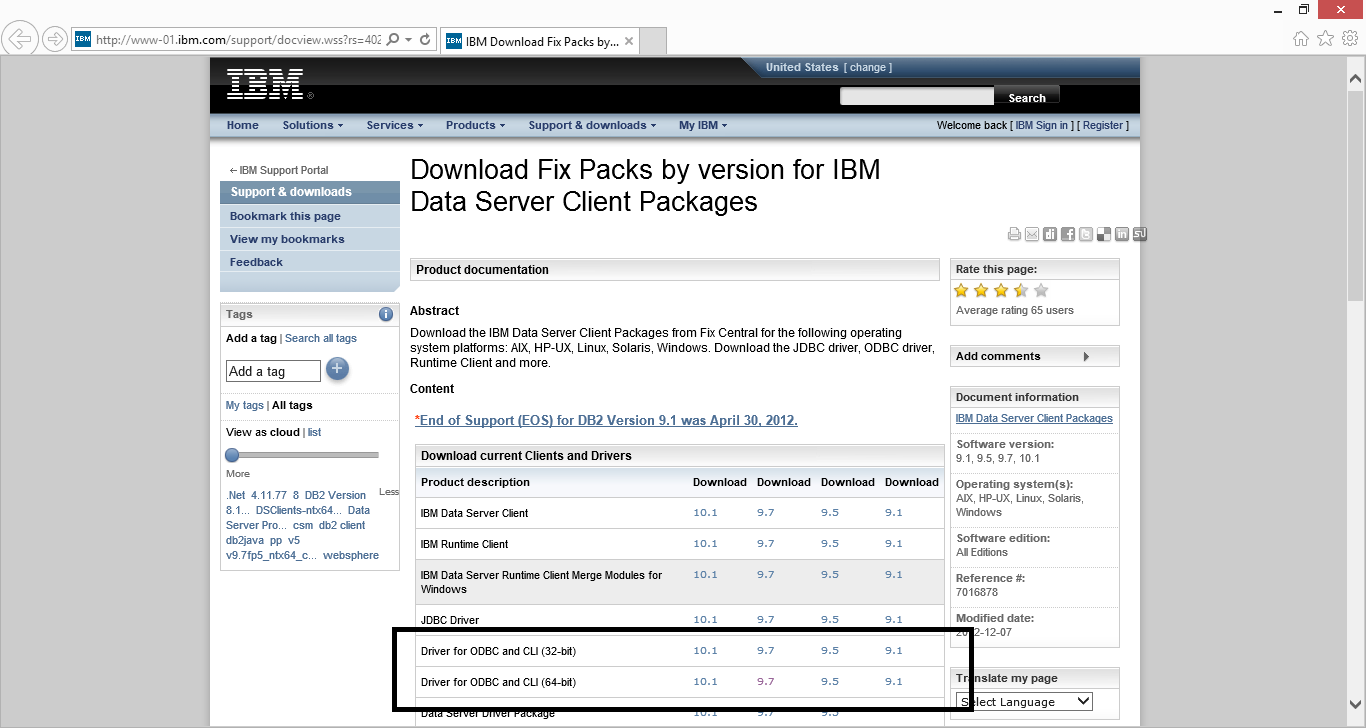
Choose either ODBC 32-bit or 64-bit for your DB2-version and download it for Windows.
If your need a 64-bit version of the ODBC-driver for Windows and DB2 version 9.7. You should look for something like this.
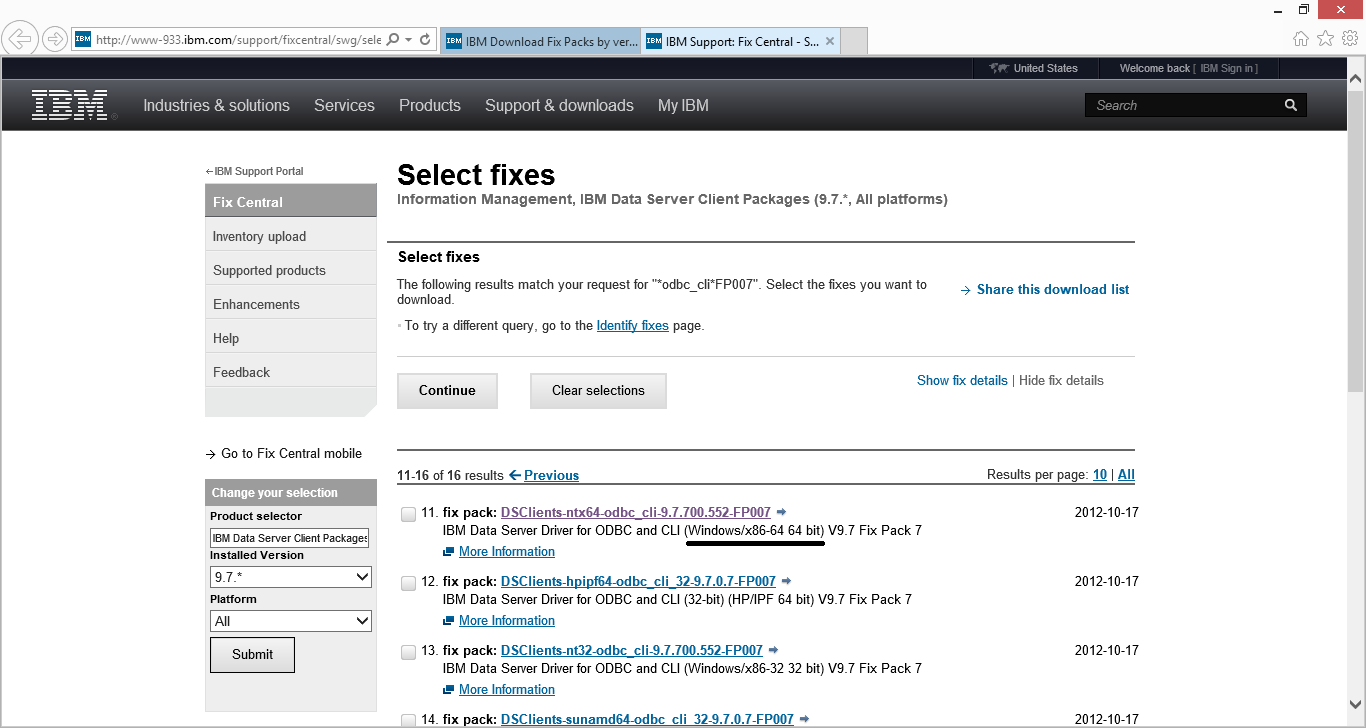
NB! You need to create an IBM-account to download the file.
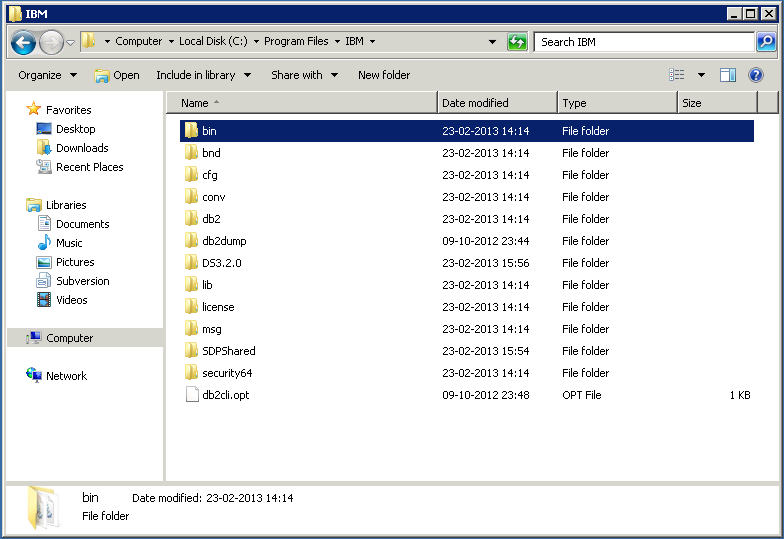
Copy the content of ZIP-file containing the ODBC-driver that you just downloaded to c:\program files\IBM. The path is optional, you can choose a different path if you want to or are using a 32-bit ODBC-driver. The files and folders in c:\program files\IBM, should look something like this.
Start a Windows command-prompt as administrator. If you don’t know how to do this, you can take a look at this page.
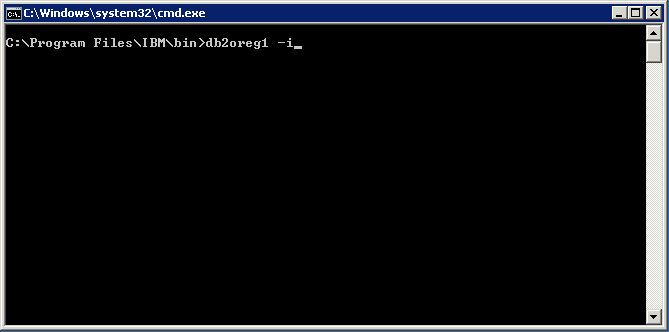
Go to the folder c:\program files\IBM\bin and type db2oreg1 –i (if you later want to uninstall it type db2org1 –u).
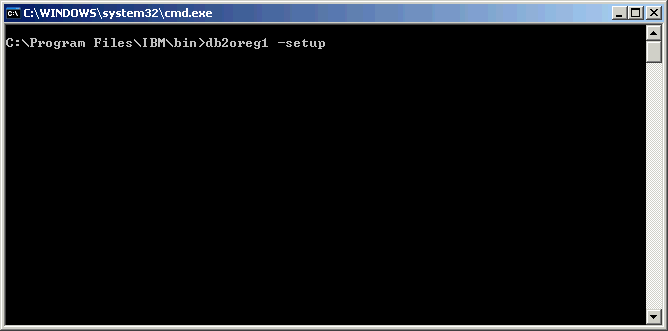
Go to the folder c:\program files\IBM\bin and type db2oreg1 –setup (Thanks to Noel for this comment).
This will register the DB2 ODBC-driver in Data Sources (ODBC) on Windows. You can take a look at the drivers tab.
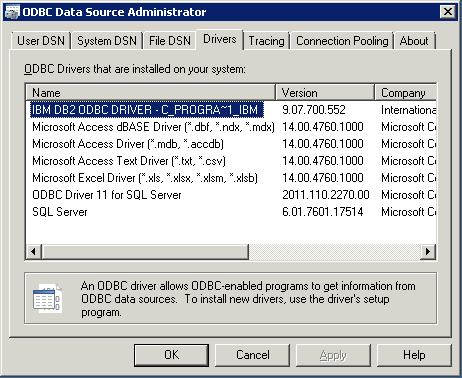
NB! If you have installed af 32-bit version of the ODBC-driver on a 64-bit system, then you have to look in the 32-bit version of the ODBC Administrator to find the driver. The 32-bit version of the ODBC Administrator can be found here: C:\Windows\SysWOW64\odbcad32.exe (Thanks to Grae for this comment)
Now you have to setup a ODBC-driver for DB2. You can either make a System or User DSN.
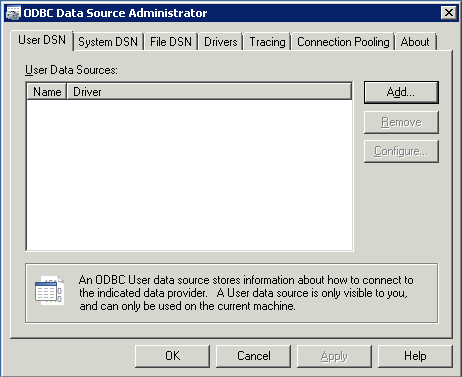
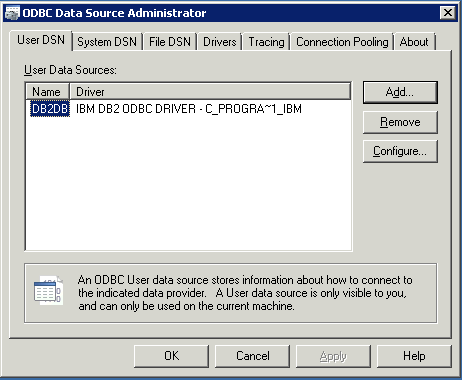
In this example i’m creating a User DSN. Go to the User DSN-tab and press the Add-button.
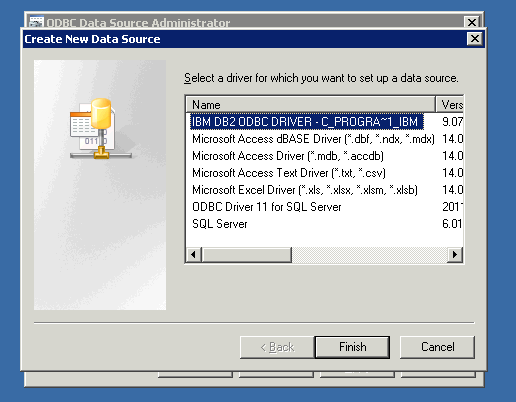
Choose the DB2 ODBC-driver and press the Finish-button.
Give the DSN a name that you can use in your programs. Here I have just given it the name DB2DB.
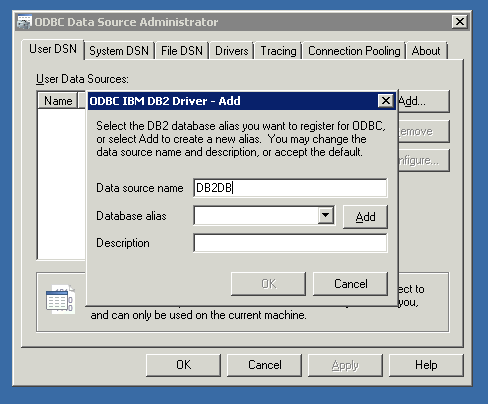
Then press the Add-button and go to the Advanced Settings-tab.
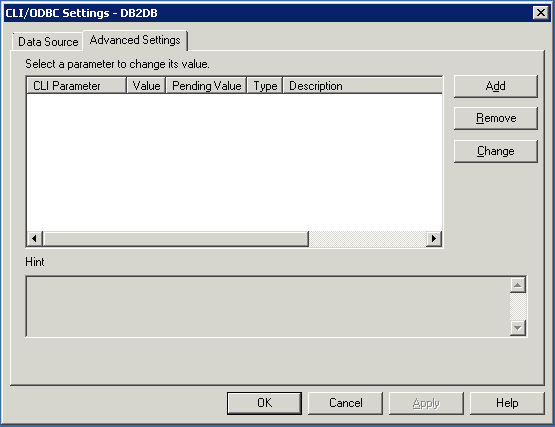
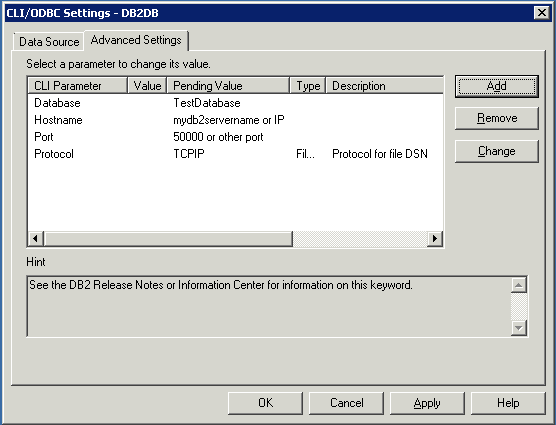
Here you need to press the Add-button to add the settings below.
Database: Should point to the database that you want to connect to.
Hostname: Should point to the server where your DB2-server is installed.
Port: The portnumber where the DB2-server on the Hostname is responding.
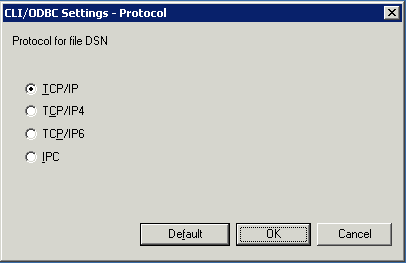
Protocol: The protocol used to connect to the DB2-server. There’s different options as you can se in the picture below.
The final settings should be the ones listed below.
Now you press the OK-button and you have a new DB2 ODBC connection and your done. You can now use this DB2 ODBC connection in your different programs.
NOTE
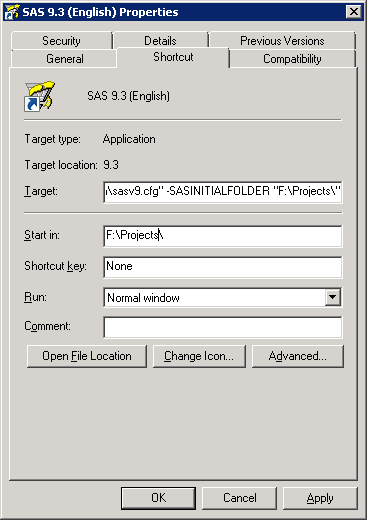
If you get the error described below in SAS. Then you most likely didn’t install the correct version 32/64-bit for your operating system. Install the correct bit-version of the Control Center from the IBM DB2 Client Server pack (further information at the start of this post).
The SAS/ACCESS Interface to DB2 cannot be loaded. The SASDBU code appendage could not be loaded
